
Table of Contents
For Dealer Administrators
- Complete the activation sheet for integration between Dominion VUE and RouteOne. Contact Dominion Support to request a RouteOne integration form. If your dealership has multiple RouteOne IDs, the form must be completed for each ID.
- For RouteOne eContracting, please refer to the last page of this document for the Single Signing Criteria.
Credit Application - Within VUE
Sales and F&I
- Navigate to Sales > F&I > Sales Desk or Deals
- Filter/Sort the primary grid to locate the Sales Desk or Deal.
- Click to select the corresponding line for the Sales Desk or Deal.
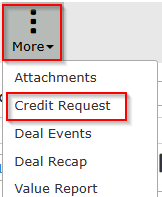
- Hover over the More icon in the Action Ribbon and select [Credit Request] from the drop down.
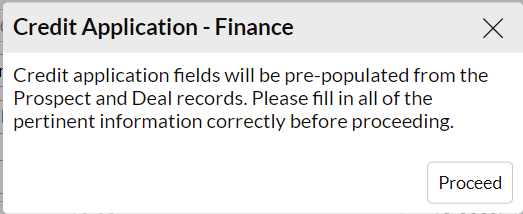
- A prompt will generate.
- If this is the first time attempting to submit credit on the customer, the prompt notifies that credit application information will populate from the Prospect and Deal data.
- If credit application data has been previously saved, a prompt will generate providing the option to re-import from the Deal & Prospect, or use the Saved Application data.

- If this is the first time attempting to submit credit on the customer, the prompt notifies that credit application information will populate from the Prospect and Deal data.
- The Credit Application will generate.
-
- NOTE: If Prospect Class is selected as Business, an additional field will be provided to the top of the application to capture the appropriate business fields.
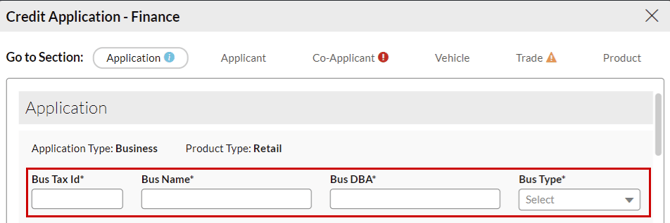
- NOTE: If Prospect Class is selected as Business, an additional field will be provided to the top of the application to capture the appropriate business fields.
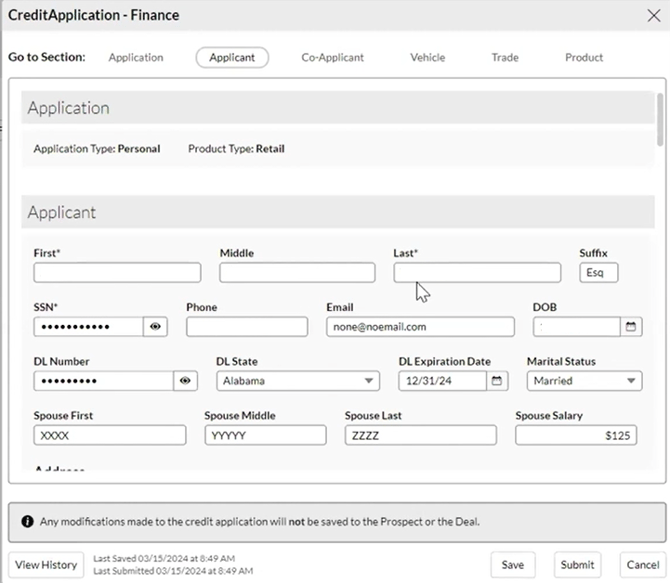
Use the Go to Section area to navigate the Credit Application.

Required fields are marked with an asterisk.
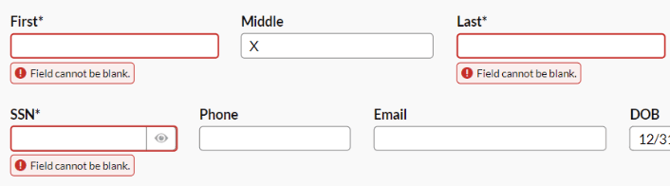
If required fields are left blank, warnings will generate and the Submit button to the bottom of the Credit Application will not be available. Hovering over the Submit button will reveal remaining required fields that need attention.
Note: Changes made in the Credit Application DO NOT update the deal. They are only used for the Credit application.
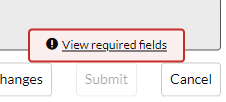
VUE Credit Application Details - Applicant
Applicant data pre-populates from Prospect record, where available.
|
Pro Tip - The SSN and Driver’s License fields offer a Show/Hide icon. Permissioned users can toggle between Show and Hide and add or edit the SSN and DL fields. Users without permissions may not toggle it, but they can enter a new SSN or DL to change it until the [Save] button is selected.
|

Spouse fields will only be shown if Marital Status is selected as Married.
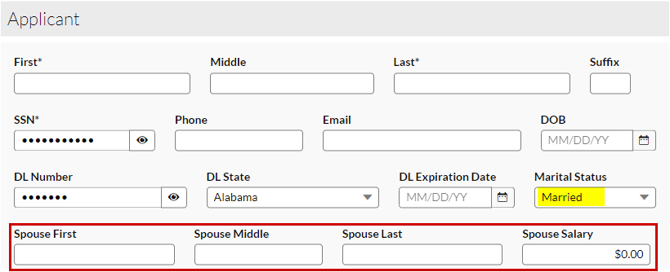
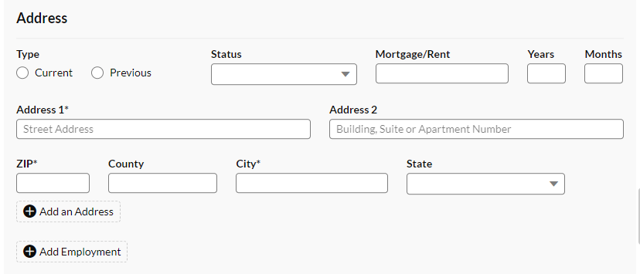
Address Information
The address information captured in the prospect record will populate. This data can be updated as necessary.
Use Add an Address to record a previous address if necessary.
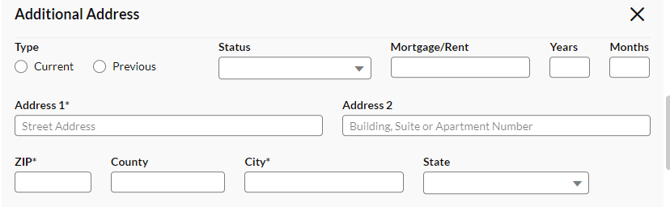
Note: there is a limit of two entries (Current and Previous).
Employment
Employment information must be added manually.
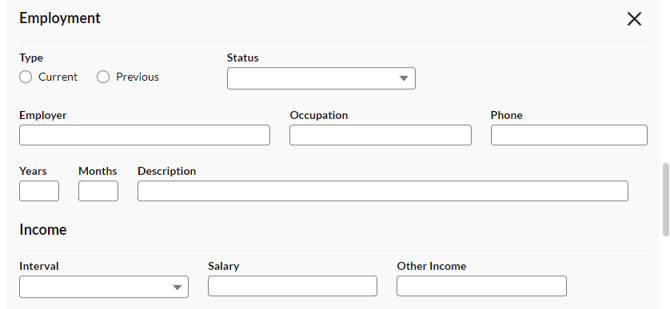
Use Add Additional Employment to record a previous employer.
![]()
Note: there is a limit of two entries (Current and Previous).
VUE Credit Application Details - Co-Applicant
Co-applicant data prepopulates from the co-buyer tab of the Prospect record, where available.
If there is no co-buyer, the co-applicant fields are hidden by default, with a button to add a co-applicant.

Addresses and Employment follow the same rules for both the Applicant and the Co-applicant.
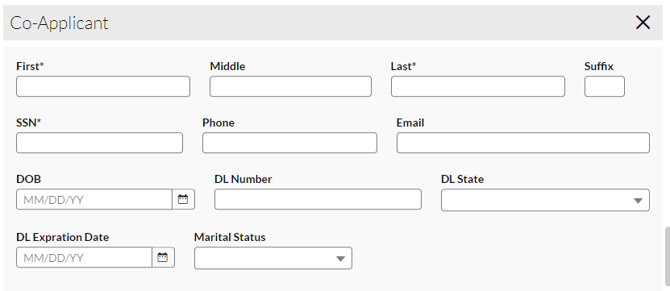
The X will delete the Co-applicant entry.
![]()
VUE Credit Application Details - Vehicle
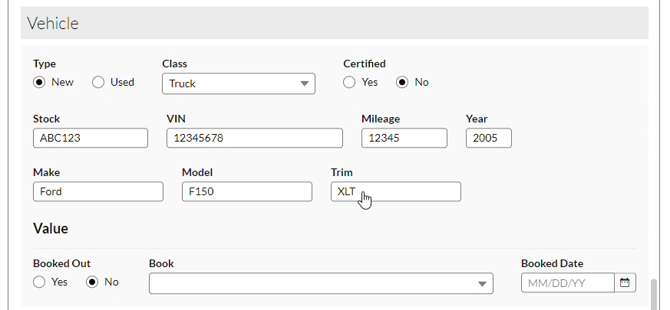
Vehicle data pre-populates from the Vehicle record, where available
- The Value area is relevant only if the vehicle is Used.
- This information must be entered manually.
- Available Books are NADA Book, Kelley Blue Book, and Black Book.
- Note: this Booked Date refers to the date of the appraisal, and is not the same as the accounting booked date.
VUE Credit Application Details - Trade
Trade data pre-populates from the Trades tab of the Prospect record, where available

- Data here can be updated before submitting; however, any changes will not reflect in the trade vehicle record.
VUE Credit Application Details - Product
Data will populate based on information in the Desk.
Note: Changes made in the Product section do NOT update the deal. They are only used for the Credit application.
For a Finance Deal:
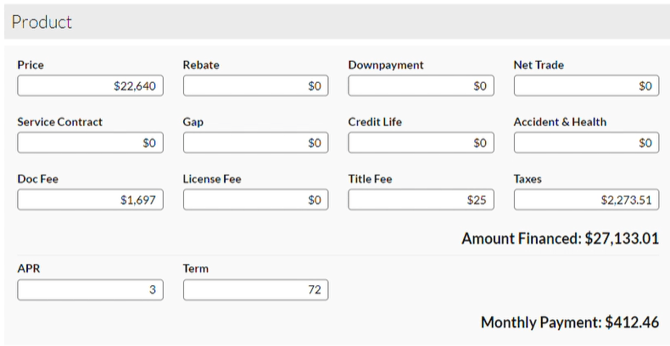
Amount Financed and Monthly Payment will update based on other values, but are not directly editable since they are calculated fields.
For a Lease Deal:
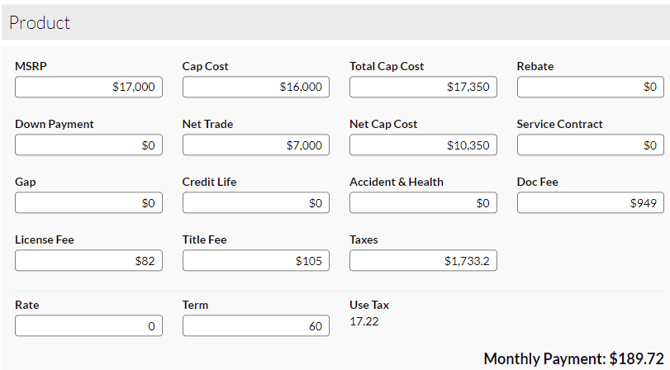
Monthly Payment will update based on other values, but is not directly editable since it is a calculated field.
Use Tax is not editable because it is a calculated field.
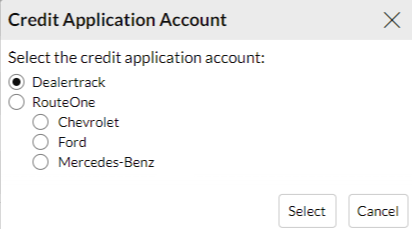
VUE Credit Application Details - Submitting the Application
Once all required information is entered, the Submit button will be available.

If more than one integration or account is used, an account selection window will be generated.
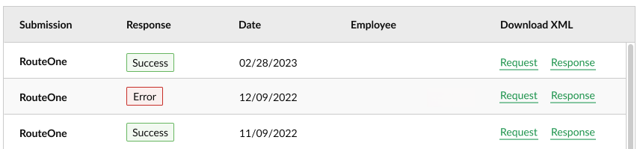
VUE Credit Application Details - History
The History button appears after submitting a Credit Application to RouteOne.
![]()
Use the hyperlinks in the Action column to download the XML data.
SSN and DL information are not included in the XML data.
Credit Application - Within RouteOne
Sign into RouteOne (www.routeone.net) once the credit application has been sent from VUE.
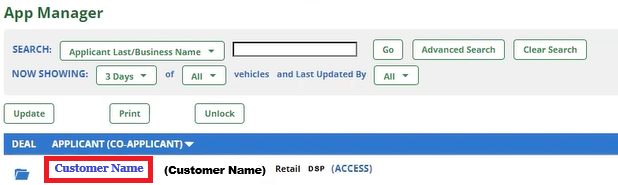
- Hover over the Deals tab and click App Manager.
- Click the customer name hyperlink in the Applicant grid to open the application.
- In the Send App To section, check the lenders for submission.

- The required fields are highlighted in yellow and governed by your selection of lenders. Complete all highlighted information.

- Once done, click the [Submit] button at the bottom right.

- Open the Decision Summary page by clicking on the status box under the customer’s name. This page displays the current status of each lender submittal.

- Click the [Update] button to check for status changes. Use the [Hide Additional Data] button to limit the display as needed.

Note: See the RouteOne Tour Guide for more details.
eContracting: Within VUE
- Navigate to Sales > F&I > Sales Desk or Deals
- Filter/Sort the primary grid to locate the Sales Desk or Deal.
- Click to select the corresponding line for the Sales Desk or Deal.
- Update the Deal based on the approved lender terms.
→ Click [Make Deal] if you have not already done so. - Click the Export button in the Action Ribbon to send the eContract or and select [eContracting] from the drop down.

eContracting: Within RouteOne
- Navigate to the Contract Manager screen on the Contracts tab.
- Click on the Customer Name hyperlink to open the Credit Application Decision screen.

- Select the credit application to use with the contract by marking the bullet on the left.

- Click the [Save & Continue] button at the bottom right to open the Contract Worksheet screen.
- If you elected to pair the deal with a previously approved or a previously saved Credit Application, some fields (e.g. Contract Header, Buyer Info, Vehicle Info, etc.) are pre-populated.
- If you elected to create a new ‘Credit Application,’ you input the information manually.
NOTE: First time users may need to set up Custom Mapping for the Worksheet fields.
Within the DMS Custom Mapping screen make any edits needed and click [Save] in the bottom right to continue.

Within the Contract Worksheet screen:
- Review the screen and make any final edits as needed.
- Click the [Validate] button at the bottom right. After validation, the [Generate Contract] button appears.

- Click the [Generate Contract] button to open the Contract Package screen.
- Once you Generate the Contract you are directed to the Contract Package screen.

Sales and F&I - Single Signing : Within VUE
- Navigate to Sales > F&I > Sales Desk or Deals.
- Filter/Sort the primary grid to locate the Sales Desk or Deal.
- Click to select the corresponding line for the Sales Desk or Deal.
- Click the Forms button in the Action Ribbon.
→Select the laser forms to push to RouteOne. Mark the boxes to the left of the laser forms you wish to use.
→Click the [RouteOne] button in the lower left to send them to RouteOne. - Click the [Close] button.

Sales and F&I - Single Signing : Within RouteOne
- Click the [REVIEW] button once documents are uploaded on the eDocuments page.
- Click the [SIGN] button.

- Collect Customer signatures.
- Click[Apply Signatures].
- Dealer Signs. (customers must sign first).
- Click [Apply Signatures] button.

- Click the [Print] button and then click [Assign & Distribute].
NOTE: As with a standard eContract, you will have two options to distribute the contract:
- ‘Right Now:’ means you have already faxed or uploaded all documents, and RouteOne distributes to the finance source immediately.
- ‘After Fax:’ means you fax the documents at a later time, and upon receipt of the documents, RouteOne distributes to the finance source.

eContracting - Deal Funding Review: Within RouteOne
Once you have assigned and distributed the eContract, you can check its Status on the ‘Contract Manager’ page. Review the Status column to confirm funding.

Criteria for RouteOne eContracting - Single Signing
For Dominion ACCESS SET the following to ACTIVE:
- Dealer DSP Status
- Send Data from DSP to RouteOne (Import)
- Import Non-Signable Documents
- Import Signable Documents
- Electronic Contracting

RouteOne Deal Jackets
Please also review the RouteOne Deal Jacket article for information on transmitting VUE forms to RouteOne.