- Dominion DMS Help Center
- Accounting Module
- Cash and Bank > 1099s
-
Contact Client Support
-
Accounting Module
- General Ledger - Journals
- General Ledger - Schedules
- General Ledger > General Ledger
- General Ledger > Manual GL Posting
- General Ledger > Post Vehicle Sales
- General Ledger > Schedule Reconciliation
- Cash and Bank > Manual Checks
- Cash and Bank > View Check Register
- Cash and Bank > Reconcile Checking Accounts
- Cash and Bank > 1099s
- Cash and Bank > Check Register Report
- Accounts Receivable > Customers
- Accounts Receivable > Receipt Book
- Accounts Receivable > Receipt Book Report
- Accounts Receivable > Statements
- Accounts Receivable > Calculate Finance Charges
- Accounts Payable >Vendors
- Accounts Payable > Purchase Orders
- Accounts Payable > Accounts Payable
- Reports > Schedule Reports
- Reports > Chart of Accounts
- Reports > Trial Balance
- Monthly > Financial Statement
- Monthly > Statistical Data
- Monthly > Reporting Account Setup
- Monthly > Open/Close Periods
- Monthly > Post Automatic Entries
- Miscellaneous > Title Tracking
- Miscellaneous > Accessories Due
- Miscellaneous > Reopen Parts & Service Tickets
- Miscellaneous > Customer Merge
- Maintenance > Employees
- Maintenance > Roles
- Maintenance > Journal Maintenance
- Maintenance > Schedule Maintenance
- Maintenance > Bank and Checking Maintenance
- Maintenance > Daily Report Maintenance
- Maintenance > Automatic Entry Maintenance
- Maintenance > Vehicle Sales Maintenance
- Maintenance > Service Account Codes
- Maintenance > Parts Account Codes
- Maintenance > Payment Types
- Maintenance > Financial Statement Maintenance
- Maintenance > Default Settings
- Accounts Receivable > Aged Analysis Report
-
Sales Module
-
Payroll Module
-
Parts Module
- Counter - Parts Inventory
- Counter - Parts Desk
- Counter > Back Counter
- Counter > Parts Request Roster
- Counter > Parts Invoices
- Counter > Special Orders
- Management > Parts Orders
- Management > Parts Returns
- Management > Parts Master Update
- Management > Purchase Orders
- Management > Parts Phasing
- Cashier > Parts Invoices
- Cashier > Daily Close
- Cashier > Receipt Book
- Physical Inventory > Physical Inventory Process
- Miscellaneous > Customers
- Miscellaneous > Vendors
- Miscellaneous > All Vehicles
- Maintenance > Price Codes
- Maintenance > Fees
- Maintenance > Parts Inventory Parts Type
- Maintenance > Header Fees
- Maintenance > Order Sources
- Maintenance > Order Groups
- Reports > Sales
- Management > Inventory Management Tool
- Reports > Special Order
-
Service Module
- Advisor > Appointment Calendar
- Advisor > Appointments
- Advisor > Appointment Schedule
- Advisor > Repair Orders
- Advisor > Route Sheet
- Advisor > Parts Inventory
- Advisor > Special Orders
- Advisor > Purchase Orders
- Cashier > Receipt Book
- Miscellaneous > Customers
- Miscellaneous > Vendors
- Miscellaneous > All Vehicles
- Reports > Sales
- Reports > Payroll > Unpaid Technician Labor Report
- Reports > Audit
- Maintenance > Labor Rates
- Maintenance > Fees
- Maintenance > Op Codes
- Maintenance > Header Fees
- Maintenance > Standard Concerns
- Maintenance > Skill Sets
- Maintenance > Rate Levels
- Technician > Technician System
- Maintenance > Service Dispatch Configuration
- Maintenance > Service Configurations
- Maintenance > Tech Management
-
OEM DCS
-
General Topics
-
VUE Updates and Features Spotlight
-
Dominion Dealer University
-
Podcasts and VideoCasts
Processing 1099s
.
Navigate to Accounting > Cash and Bank > 1099’s >1099 Processing
The Vendor record needs to have the Tax ID, 1099 yes, and 1099 Payment Type fields completed when a Vendor will be owed a 1099.
When these fields are defined, the information defaults to Manual Checks and Accounts Payable Invoices for the Vendor. The data on a vendor’s 1099 populates from payments made from Manual Checks or Accounts Payable that were defined as 1099 for the vendor within the last year.
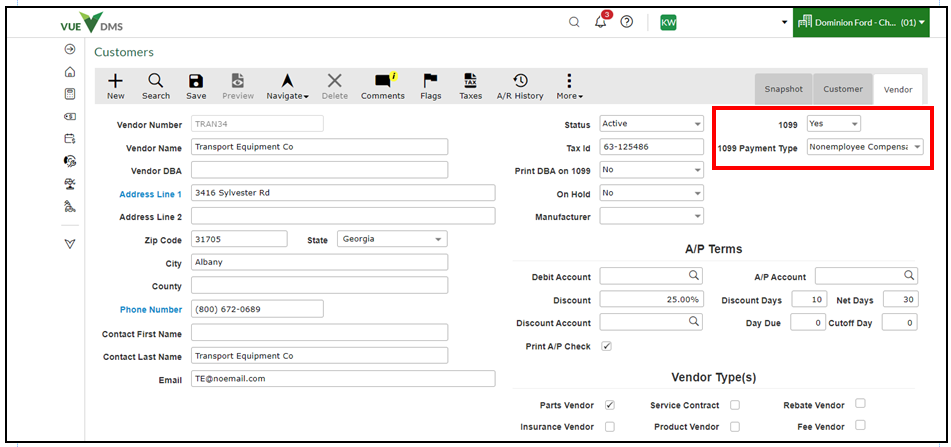
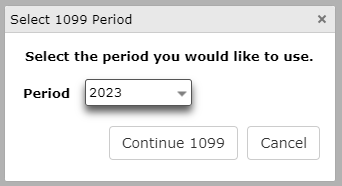
- After navigating to 1099 Processing, select the period to use.
2. Use the [Start Over] or [Refresh Data] buttons in the Action Ribbon as needed.
3. You may create an Excel spreadsheet by clicking on the [List 1099 Data] button.
4. If a Payee is in the grid multiple times and needs to be merged, select the checkbox to the left of the Payee Number and then click the [Merge Selected] button at the bottom.
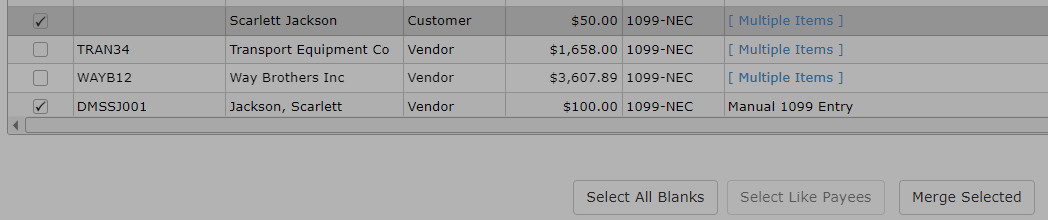
5. You can add an entry by selecting [Add Entry] at the bottom of the screen. Then select the payee that needs to be added from the grid that pops up. Then select the Payment Type and Amount and click the [Insert] button.
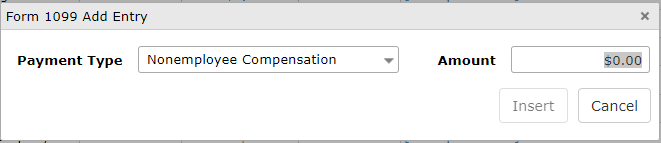
6. Once all entries are completed, select either [Print 1099s] or [eFile 1099s] from the Action Ribbon.
- If Print 1099s is selected, you receive a popup asking, "Which 1099 form do you want to print?" Select the 1099 form to print. Be sure the 1099 forms are aligned correctly and print forms.
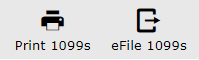
- If you want to eFile, click on the [eFile 1099s] button in the Action Ribbon. You will be prompted as to which form you want to file. Choose MISC, NEC, or Combined.
- After choosing, the next prompt asks if this is a Test File. Select Yes or No.
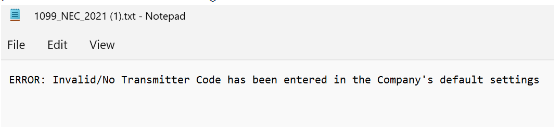
- Once selected, a file downloads to your default folder. This file will let you know if it can be submitted or if there is a problem. You will receive a message about the status of the Test File.